 Educates
Part 3: Write your first workshop
Workshop basics
Educates workshop repositories need to follow a specific layout in order for Educates to render instructions, setup workshop environments, and configure the workshop itself correctly.
Bootstrapping a New Workshop
To help us get this setup right, the Educates CLI provides a bootstrapping command:
educates new-workshop ./demo-workshopThis will create a new workshop called demo-workshop in ./demo-workshop.
The layout of the directory looks like this:
demo-workshop├── README.md├── resources│ └── workshop.yaml└── workshop ├── config.yaml └── content ├── 00-workshop-overview.md ├── 01-workshop-instructions.md └── 99-workshop-summary.md- A
README.mdfor us to describe the workshop. - The
resources/folder contains the Kubernetes resources needed for this workshop - for now that's just theWorkshopCustomResource declared inworkshop.yaml, which defines the workshop itself. - The
workshop/folder contains the workshop resources to be used within a workshop session. - The
config.yamlwhere we could configure certain things specific to our workshop sessions, as well as navigation order of our content. - The
content/folder with our actual, written content in Markdown. It may also include more nested directories to structure content further.
Make sure to change your current directory to the new demo-workshop directory:
cd demo-workshopWriting Workshop Content
The contents in workshop/content/**/*.md are what's going to get rendered into our workshop
instructions from Markdown.
As rendering is done by Hugo, its whole range of Markdown syntax is supported within Educates.
Text Styling
The most important styling options are supported, as are links:
You can write _italic_, **bold**, `monospace`, and ~~strikethrough~~.
[Source](https://www.markdownguide.org/tools/hugo/)
gets interpreted as:
You can write italic, bold,
monospace, andstrikethrough.
Listings
Listings work the same, including nested lists and task lists:
1. Create a workshop on workshops2. Build a workshop in the workshop on workshops3. ??? 1. ???? 2. more ?????4. Profit!---- Create a workshop on workshops- Build a workshop in the workshop on workshops- ??? - ???? - more ?????- Profit!---- [x] Create a workshop on workshops- [ ] Build a workshop in the workshop on workshops- [ ] ??? - [ ] ???? - [ ] more ?????- [ ] Profit!gets interpreted as:
- Create a workshop on workshops
- Build a workshop in the workshop on workshops
- ???
- ????
- more ?????
- Profit!
- Create a workshop on workshops
- Build a workshop in the workshop on workshops
- ???
- ????
- more ?????
- Profit!
Publishing Workshop Content
Once we're satisfied with our instructions, we will have to publish them, following the workflow Educates uses.
To do this, we issue the following command from our workshop's root directory:
educates publish-workshopWe can see all relevant content being bundled and pushed to our local OCI registry
running on localhost:5001:
educates publish-workshop
Processing workshop with name "demo-workshop".Publishing workshop files to "localhost:5001/demo-workshop-files:latest".dir: .file: .gitignorefile: README.mddir: resourcesfile: resources/workshop.yamldir: workshopfile: workshop/config.yamldir: workshop/contentfile: workshop/content/00-workshop-overview.mdfile: workshop/content/01-workshop-instructions.mdfile: workshop/content/99-workshop-summary.mdPushed 'localhost:5001/demo-workshop-files@sha256:5764070c05edb8625eb58393a77676df0029f30d7c33cd1b6a5a6ce7e7800138'
Deploying a Workshop
After publishing, it's time to deploy our workshop to our clusters - again with the help of the Educates CLI:
educates deploy-workshopAgain, the CLI outputs useful information, e.g. the name of the deployed
workshop as well as the target TrainingPortal it got deployed to:
educates deploy-workshop
Loaded workshop "educates-cli--demo-workshop-efb97a1".Creating new training portal "educates-cli".Workshop added to training portal.Opening a TrainingPortal
In the final step of this section, we want to access the TrainingPortal which
the Educates CLI has just created for us.
We can wait for the successful creation of the web app workload within our cluster and have it opened in our browsers for us with the following command:
educates browse-workshopsYou might see this output and have to wait for a few seconds, but eventually, a browser window should open:
educates browse-workshops
Training portal "educates-cli".Checking training portal is ready.[/] Waiting...
You should be greeted by this screen:
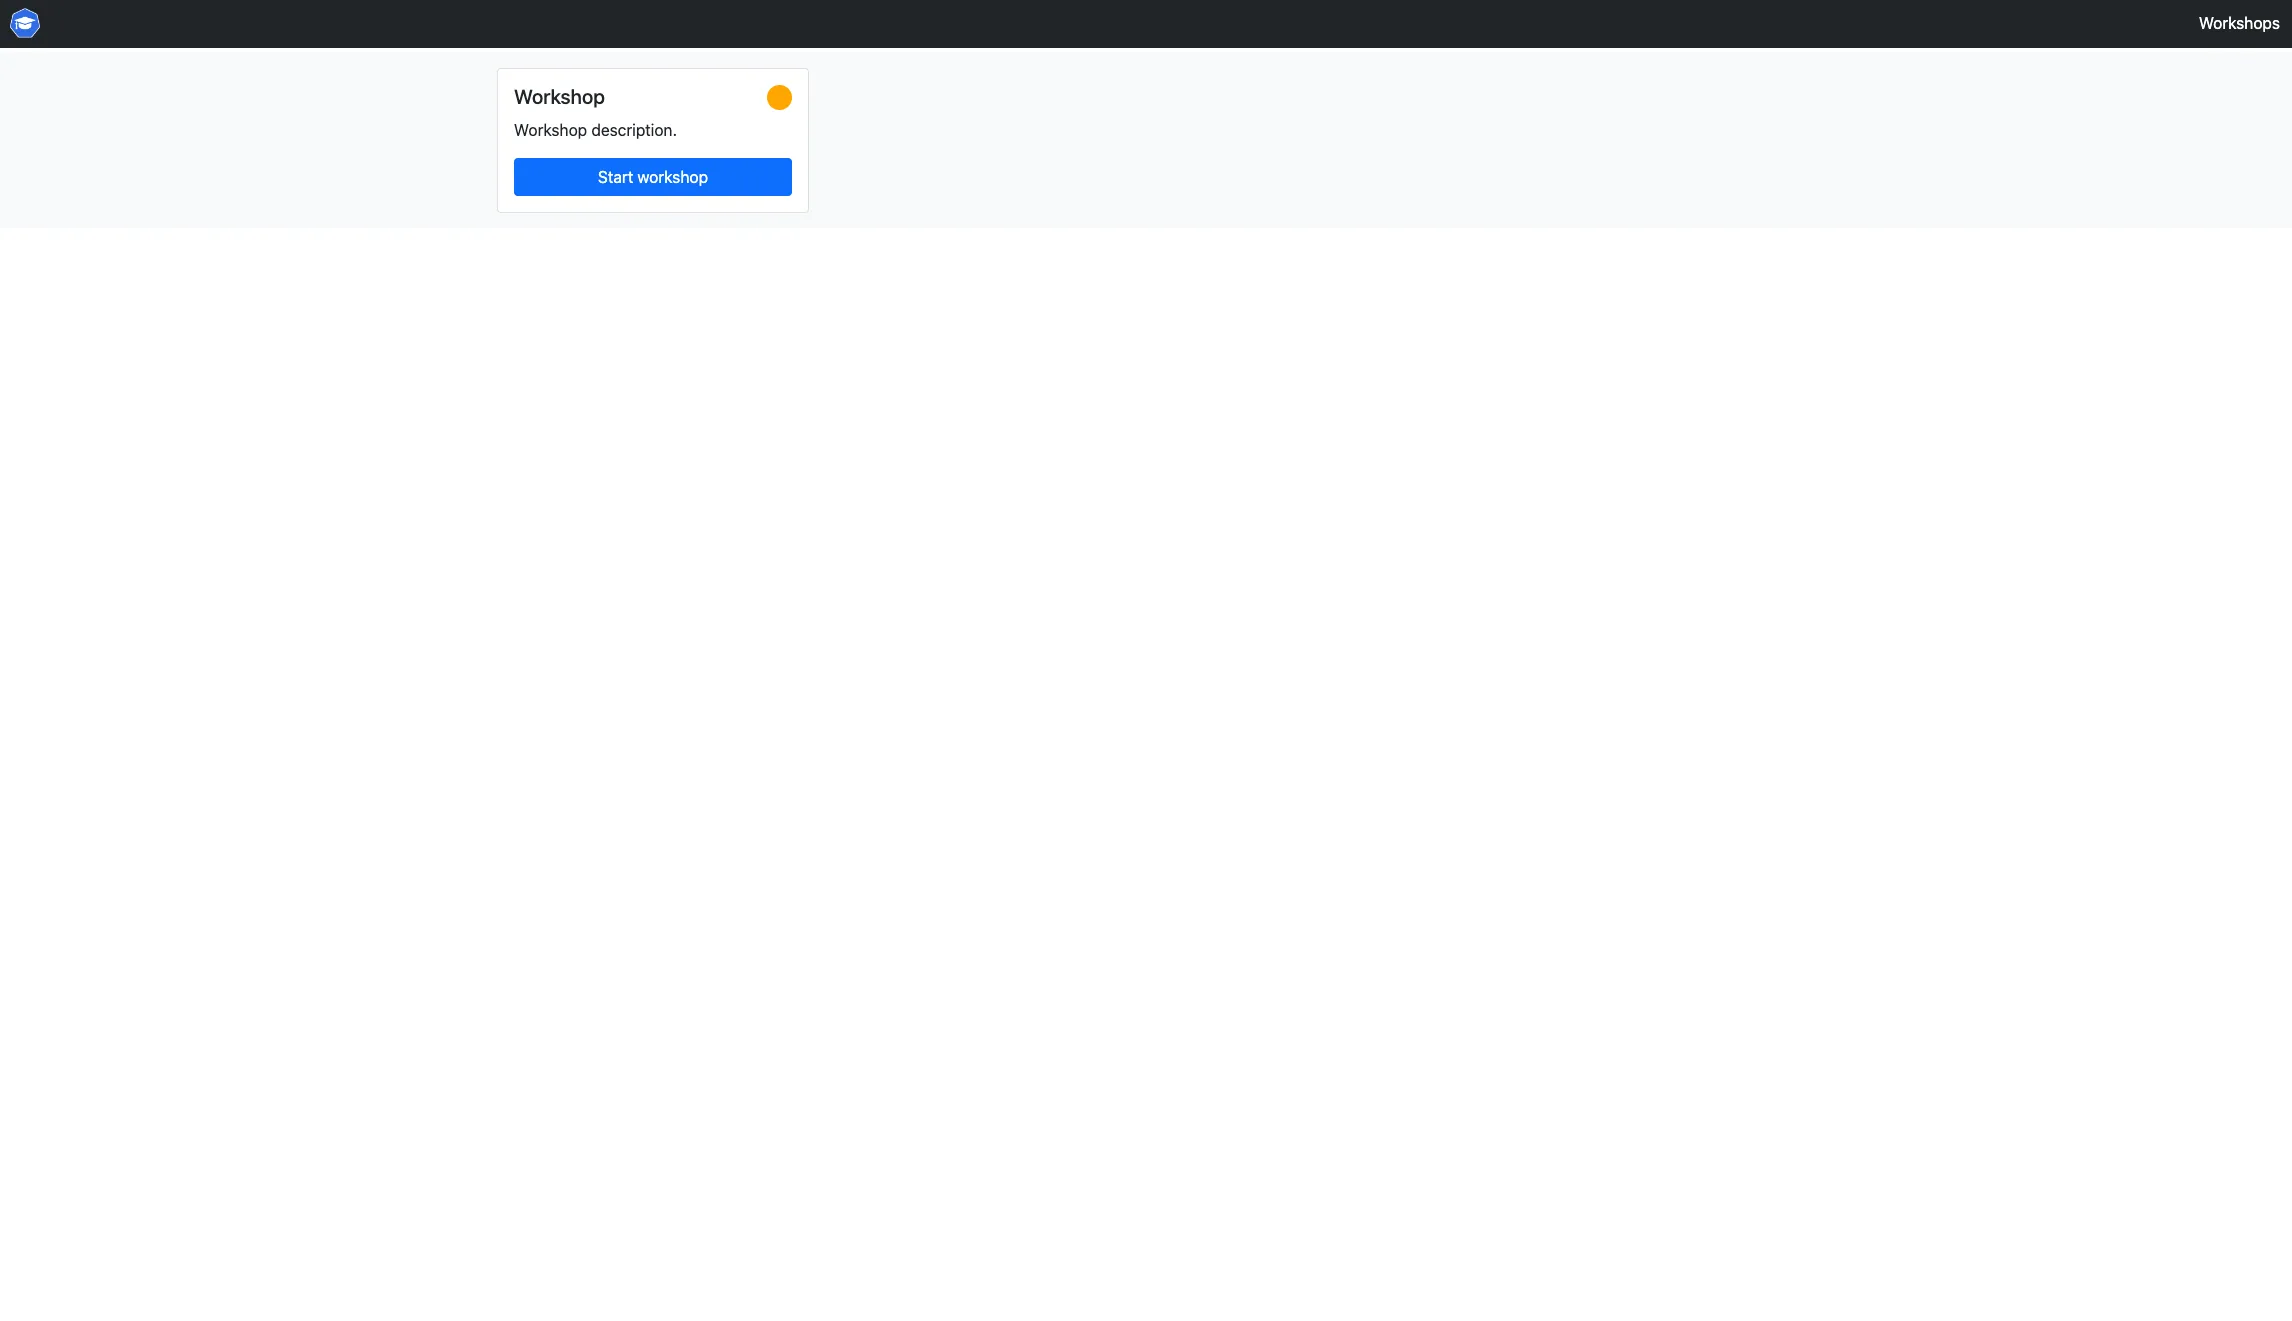
Click Start workshop to start your own Session of the workshop, and look around: this is what the people taking your workshop will see.
We did it! Within a few minutes, we deployed the first draft of our workshops!
Let's learn how we can do even better.